 Skip to content
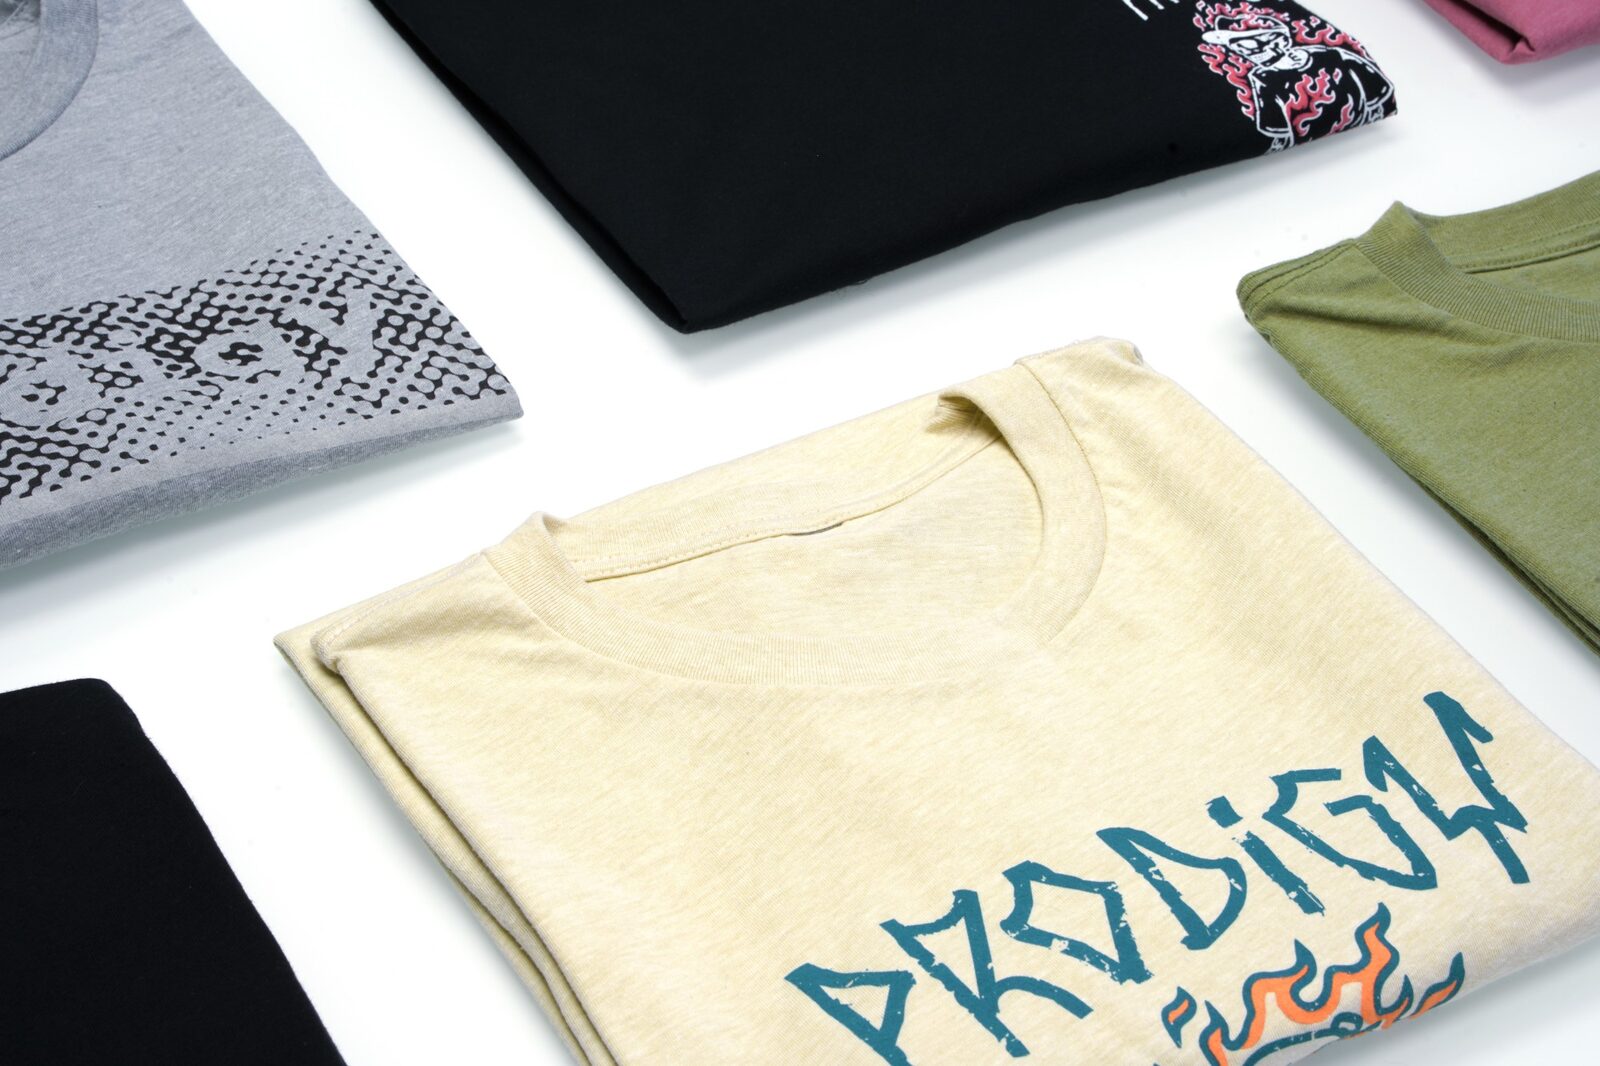
Yes. Mostly. But we decorate thousands of tees a month in our Lindon shop, and we can tell you that most ruined-shirt stories start the same way: a hot iron and about four seconds of confidence.
The good news is that ironing a t-shirt is genuinely easy once you know two things: what the shirt is made of, and what’s printed on it. Get those right and you’re done in three minutes. Get them wrong and you can scorch polyester into a permanent shine or melt a vinyl print flat. Here’s how to stay on the right side of that line.
Start with the fabric
The fiber content decides how much heat the shirt can take. It’s on the inside tag. Here’s the cheat sheet:
| Fabric | Heat level | What to know |
|---|---|---|
| 100% cotton | High | The most iron-friendly fabric there is. Handles up to 204°C (400°F). Easiest when slightly damp. |
| Linen | High | Loves heat and steam. Press while damp for best results. |
| Cotton/poly blend | Medium | The most common tee fabric (50/50, 60/40). The polyester lowers the safe ceiling, so stay at medium. |
| 100% polyester | Low only | High heat leaves shiny scorch marks that never come out. Iron inside-out. |
| Rayon / viscose | Low–medium | Wrinkles badly but is fragile when wet. Use a pressing cloth. |
| Bamboo / modal | Low–medium | Soft, delicate fabrics. Gentle setting, easy on the steam. |
| Nylon | Skip it | Melts at low temperatures. If you must, cool iron with a damp cloth in between. |
| Spandex / Lycra | Skip it | Direct heat kills the stretch. Lowest setting only, or don’t. |
| Wool jersey | Steam only | Never put a hot iron directly on wool. Hold a steamer above the surface instead. |
The care label already knows the answer
Every shirt sold in the US carries a care label, and the iron symbol on it does the thinking for you. Count the dots:
| Symbol | Max temp | Typical fabrics |
|---|---|---|
| One dot | 110°C / 230°F | Synthetics, nylon, acrylic |
| Two dots | 150°C / 300°F | Poly blends, wool, silk |
| Three dots | 200°C / 390°F | Cotton, linen |
| Iron with an X | Don’t iron | Delicate or heat-sensitive fabrics |
No label, or it’s worn off? Default to medium heat and iron inside-out. That one precaution saves most shirts.
The part we care about most: the print
This is where the disasters happen, and it’s the part we know best because we’re the ones putting the decoration on. The fabric might handle the heat fine while the print on top of it melts, peels, or flattens. Here’s how each decoration method holds up:
| Decoration | Iron safety | What to know |
|---|---|---|
| Embroidery | Safe, indirect | Iron the reverse side over a padded surface. Never press directly on the threads. |
| Screen print | Safe, indirect | Inside-out at medium heat. Direct contact can crack older prints. |
| Heat transfer / DTF | Careful | Inside-out or pressing cloth, always. Direct heat causes peeling and bubbling. |
| Sublimation | Careful | The dye lives in the polyester itself, so the print is fine but the fabric will scorch. Keep it low. |
| Vinyl / HTV | Barely | A hot iron melts HTV. Low heat, pressing cloth, or just steam it. |
| Puff, foil, 3D prints | Don’t | Specialty finishes flatten and delaminate under heat. Skip the iron entirely. |
The golden rule for any decorated shirt: inside-out, padded surface, pressing cloth. Those three moves protect the print we spent good ink on and you spent good money on.
Curious how those prints get onto the shirt in the first place, or which one to order next time? We compared the three digital methods in DTF vs. DTG vs. Digital Squeegee. And ironing is only half of print care; the other half happens in the wash, covered in How to Wash Printed Shirts So the Print Lasts.
How to iron a tee in three minutes
- Check the label. Set the heat to match the fabric before you start. The iron takes a minute or two to get there.
- Flip it inside-out if there’s any print or embroidery on it. Do it for plain shirts too — it prevents contact shine.
- Collar first. Lay it flat and work from the center out. The collar sets the shape of the whole shirt.
- Then the sleeves. Line up the seams, iron one side, flip, repeat. Skip the hard crease unless it’s a structured style.
- Then the body. Front left, front right, back. Long, smooth strokes with the grain.
- Hang it immediately. A freshly ironed shirt left in a pile re-wrinkles in minutes.
One trick worth stealing: for cotton and linen, mist the shirt with water first or use the steam function. Damp fibers relax, and the wrinkles fall out with half the effort.
One warning worth heeding: athletic and moisture-wicking tees are polyester or poly-spandex, engineered not to wrinkle in the first place. If one does, hang it in a steamy bathroom or use a garment steamer. Keep the iron away.
A few pro moves
- Use a pressing cloth. A thin cotton cloth, or a clean pillowcase, between the iron and the shirt is cheap insurance. Dark shirts especially can pick up a shine from direct contact.
- Consider a steamer instead. For everyday tees, a handheld garment steamer is faster and safer than an iron. No direct contact means nothing to scorch, which makes it the right tool for decorated shirts and synthetics.
- The shower trick. No iron, no time? Hang the shirt in the bathroom while you shower. Ten to fifteen minutes of steam takes out most light wrinkles. Not crisp, but casual-Friday fine.
- Don’t over-iron. One slow pass at the right heat beats five frantic ones. Repeated passes stress the fibers, especially on soft tri-blends and bamboo.
- Hang it after. Hanging keeps the result. If you fold, fold cleanly and don’t stack a mountain on top.
The takeaway
Yes, you can iron a t-shirt, and for cotton it’s about as easy as laundry gets. Check the fabric, flip anything decorated inside-out, and go cooler when in doubt. Your shirts will look sharper, your prints will live longer, and your swag will keep doing its job every time somebody pulls it out of the drawer.
Always check the care label on your specific garment. Fiber content and construction vary, even within the same style. When in doubt: lower temperature, pressing cloth.